Wednesday, March 28, 2012

I Had To- 2011-12


Before I begin to describe this statue, its meaning and a description of the process I would like to say a few grateful thank you's, I could not have completed this great undertaking with out your support and guidance.

My family- My professors at SAIC- My roommates and friends-
All who inspired me, who guided me
who helped and encouraged me to continue striving for greatness.

I thank you from the bottom of my heart.

And Lastly this piece has been dedicated to the memory of my late mother.


This piece entitled: I had To- was begun in early September 2011 and completed in march of 2012. Totaling estimated 1000 hours of work time has been the ultimate culmination of all of the artistic intentions and skills that I have developed throughout my 4 years at SAIC. It began with a simple and partly mad idea to create a statue of myself.


(You might notice that these plans are for a articulating statue whose construction became unfeasible)

From there I experimented with the design by creating a small wax version of my proposed idea.

After I realized that the articulation of the design did not fit what I ultimately wanted to say I began to create a statue that reflected (while still innovating upon) classical Greek/Roman Statue. After much research into statues and stances of all kinds my goals were that the statue would be in a classical contrapposto stance, nude, and have a smooth marble like surface (with some exceptions).


And so I began to take molds of my body (so as to ensure the statue was as true to life as possible). To your left you can see an example of one of the 14 (two sided) plaster gauze molds that it took to acquire a full body cast of myself.
For more detailed sections of my body (Face, hands, feet, ears, and crotch) I used a product called Alginate; which is a product made from seaweed typically used to take dental molds. It is a non toxic, temporary mold that captures fantastic detail.


Through out the mold making process a brown foundry wax was painted or cast into the molds and then joined together piece by piece. Taking special care to constantly measure each section to ensure no errors were made during the wax working process. Once again to verify that the statue was as true to life as possible.


After that the was pattern was cut into smaller more manageable chunks and dipped into a ceramic slurry mixed with sand.
And finally cast in aluminum!
From there the different sections were removed from their cups and gates and welded together (See post entitled "Face shield" for greater detail on the casting process and the meaning of those terms).


After much surface treatment: Grinding, sanding, buffing and finally patination the statue was ready to be mounted on a pedestal complete with plaque and piece description. It was Initially shown in the Spring Bachelor of Fine Arts Exhibition (2012) at SAIC and is currently under review for appearing in several other shows to follow.

Monday, October 24, 2011

Bronze Drip Letter Opener


This Letter-Opener was fashioned by a combination of accidental and purposeful means. During the casting of my piece entitled "Face Sheild" (seen below) some bronze was spilled onto the sand pit. This natural drip formation fits the ergonomics of the hand with an eerie ease. Left with an as-cast surface the handle is contrasted by the etched and polished brass blade. These features combine to give a perception of age and history. Akin to ancient tools- it holds a faux sense of mystical value.


Tuesday, September 20, 2011

The Ultimate Collaboration


I recently rescued many items from my families old mini storage in California. While I was going through it all i came across a wax carving my late mother had made when I was in elementary school. This incomplete carving of myself had a wonderful array of textures and history to it- my mom had sculpted the head and a part of the shoulder, and (presumably without permission) I had secretly doodled a face onto it. This wax carving that had been sitting idle for the last 10-15 years till I found it. Realizing the odd collaboration (a concept I have been working with in my art) that had happened between my mother and I with out intending I immediately cast it in bronze and now have a small monument to our shared artistic goals and the link we have. I have since then made copies for the other members of my family and intend to give them out this coming Christmas.

Face shield


It had been an interest of mine to make a suit of armor many years ago, and while my whimsical idea was never completed I did begin an attempt at making the helmet from cast metals. The faceplate of the helmet was to be a detailed mold of my face, however certain complications arose and the idea became unrealistic. Above you see one of the wax patterns for the faceplate- I ended up with two separate cast bronze faces which I feel are more successful than any helmet I could have created.

Here you get a glimpse on the full process that goes into creating a cast metal piece. Once you have a pattern in wax or any other flammable material (like mine seen above) you attach sprews and a cup to a carefully selected section of your mold (sprewing varies piece by piece). These sprews are more wax tubes that will eventually act as the arteries that feed your casting the metal it needs, the cup, not only acts as a funnel directing the metal to the arteries and the casting but it provides a weight that forces metal into the deeper sections of your mold. While there is much more on the reasons/benefits and so forth of sprews and cups there isn't enough room on this blog so I will leave it with that simple explanation.
Once you have your piece "sprewed up" you dip it several times over the course of hours/days in a ceramic slurry mix and sand. Once it has reached an appropriate thickness and is dry you place it in a kiln to burn the wax out and bake the shell much like you would a clay pot. This leaves you with a hollow shell in which to pour your metal. The picture above is just after one of the faces has been cast and a section of the shell has been removed. It is a long challenging process but once it is all done your piece will look great... if you did it right.

I only have detailed photos of one of the two faces however you can see the wonderful detail and beauty you can achieve. You also get to see one of my favorite pieces yet created.


Monday, April 25, 2011

Hand Casting

Near the end of 2010 I had a realization that much of my work is based on the subject of the body. While that is a subject for another day, I'm posting a few images of a smaller piece that is a investigation of those ideas. It was a two part mold of my hand that i subsequently cast in aluminum and bronze. The cast came out with spectacular detail and is a good investigation for my ultimate goal of creating a full body cast.


Batman Belt Buckle

This was a commissioned piece that I made for a friend of mine's Halloween costume.
It is two pieces of etched brass, riveted together, with a black patina to highlight the batman logo. I am very happy with the way it turned out and it was a wonderful little project.

Tuesday, May 25, 2010

Brass Box With J Initial


This box was made for my step-grandma
Made from brass its diameter is between the sizes of a nickel and a quarter
after completion it was stamped with her first names initial: "J" and polished.


Monday, May 17, 2010

Bronze Cylinder Boxes Continued


These are two Bronze boxes of a set of six that i made for my family this last christmas (Two other boxes in the set were posted earlier) these matching boxes roughly the diameter of a quarter.

Saturday, May 15, 2010

Ruler Necklace


Made from a ruler
-people have said it might be
a little too cheezy but I sort of like it

Tuesday, May 11, 2010

Custom Portable Batman Themed Table


This batman themed table was designed and made in conjunction with a volunteer at the Rehabilitation Institute of Chicago. The collaborator and recipient of the table needed something that would allow him to draw on the go. Using a modified t-pipe that fastens to a protruding pipe on his chair and remains fastened to his chair at all times- From there a pipe screws into the modified t-pipe and becomes the support arm for the table top. The table top is PlastiDipped- to waterproof and protect table for easy cleaning. Batman plate, protects hole from wearing out and to add to the batman theme.

Tuesday, May 4, 2010

Scale Reference


A size reference was requested for the bowls so here the pictures are next to some quarters
-enjoy-

PCB Bookmark


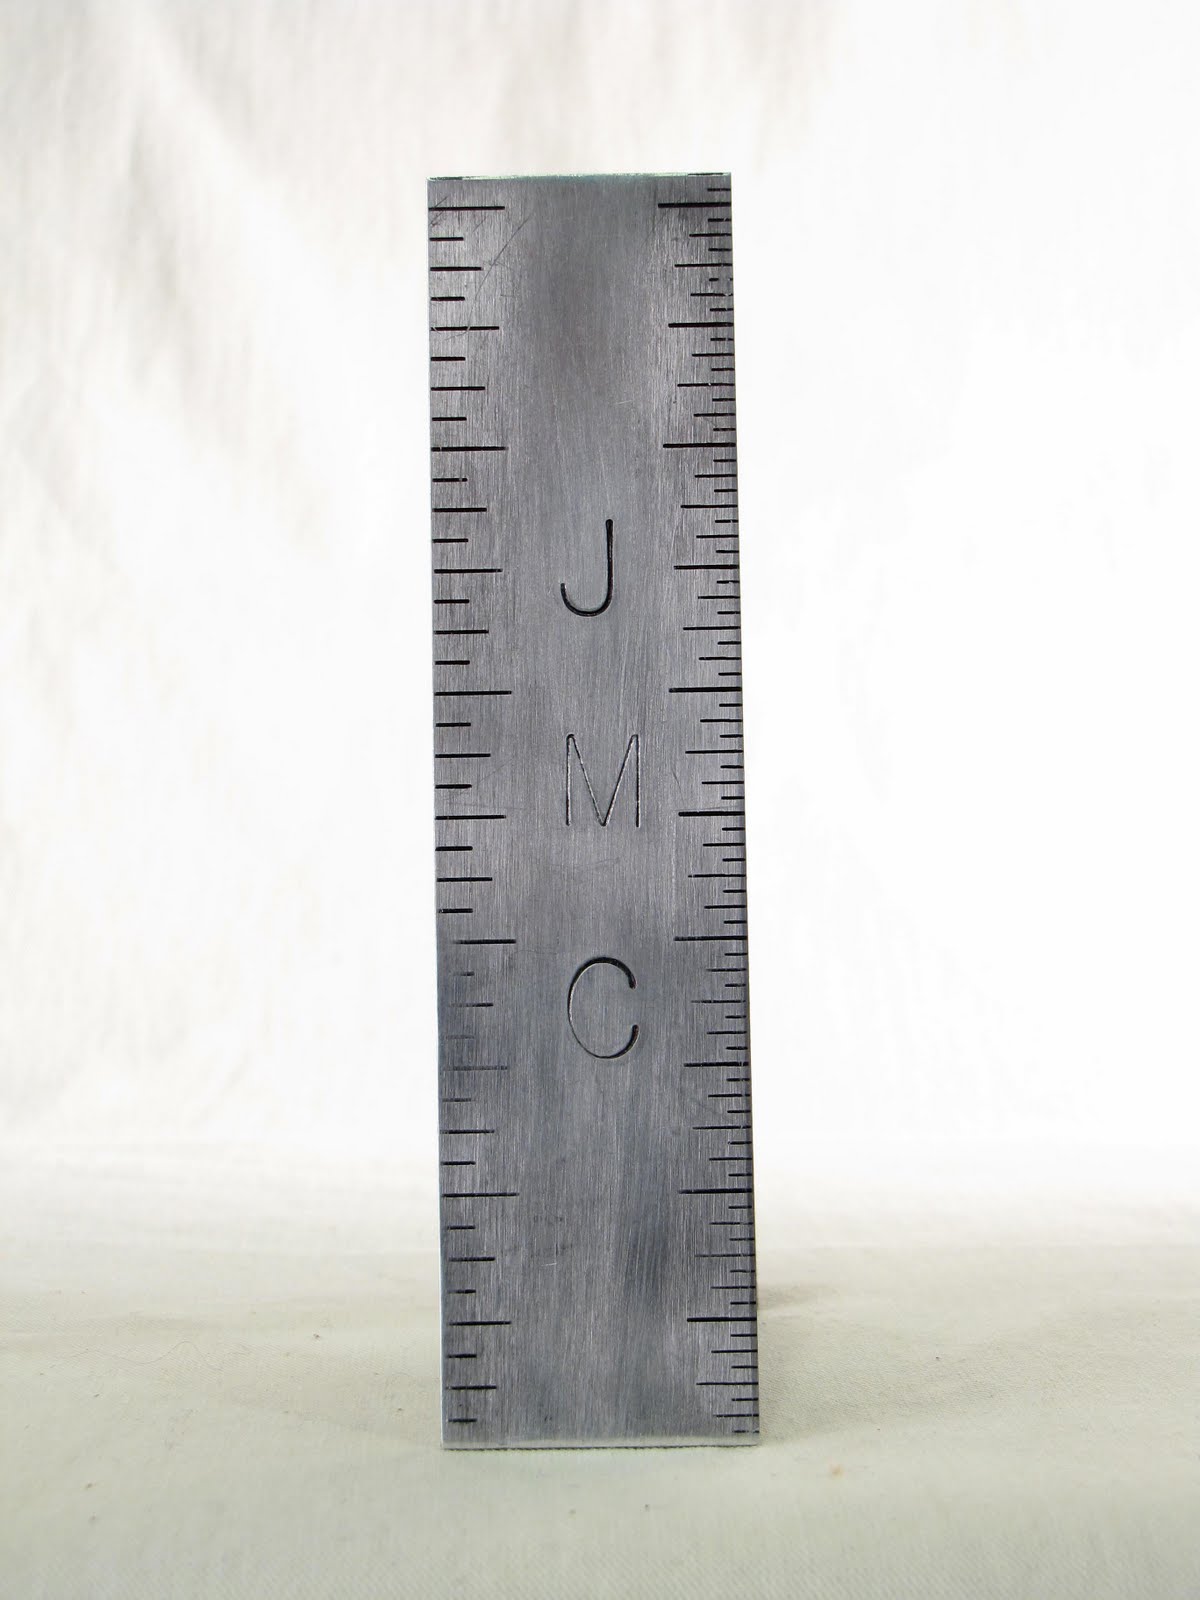
A partner to the JMC bookmark, this bookmark is also made from a ruler and has the initials of my dad stamped on them- an accidental etching accident led to the rough look and was a pleasant surprise

JMC Bookmark


This is a bookmark made from a ruler and stamped with the initials of my Step Mom

First Cylinder Box Ever Made


This was the first cylinder box i ever made
larger than the others it is about 4 inches tall
(etched and patinated copper)

Bronze Cylinder Boxes


These are two Bronze boxes of a set of six that i made for my family this last christmas
these matching boxes roughly the diameter of a quarter

Sweet Pea Pendant


A Classmate brought in a pea pod that had been made for her
so here i have made my own version from copper and patinated it green
(fold formed copper)

Nickel Sphere


Necklace made for my ex-girlfriend
Inspired from Rosemary's Baby evil pendant
(but naturally this necklace was made with good instead of evil intentions)

Monster Dome


Half sphere made in a similar way to the Rhino Necklace
looks like a monster to me
Currently Unfinished

Rhino Necklace


Every time i look at this necklace it looks like a rhino to me hence the name
its a nickel half sphere- etched drilled and hammered with a flat backing

Green Necklace


Green enameled copper disk
necklace